Creating Tables for your Website!
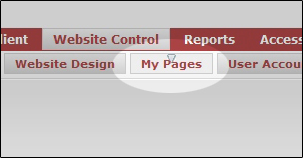
1. To create a table, go to Website Control >> My pages
2. Click on the pencil icon
 to open up the editor.
3. Click on the table icon
 to bring up the table creation window.
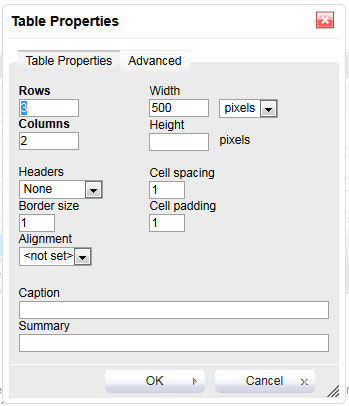
4. Choose the number of rows and columns you would like your table to have.
Next, set the overall size (in pixels) you would like your table to have. If you are not sure, leave the default values in place.
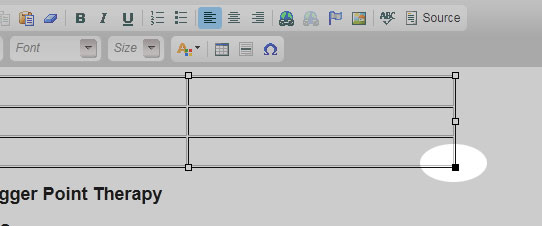
5. If you are unhappy with the size of your table, click and drag to re-size the text.
Remember, your table will expand to accommodate your text as you type.
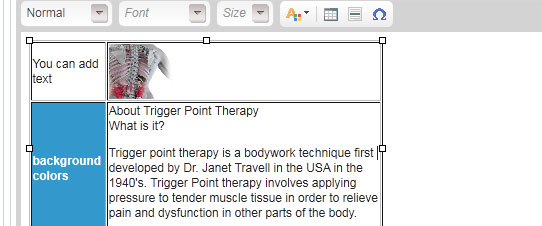
6. Finally, click inside any given box in your table to begin entering data.
7. When finished, click the save icon
 to save the changes to your web page.