How to upload your own images on a content page
Images can add visual interest to an otherwise static page of text. Your system editor allows you to upload your own images to your content pages.
Navigate to Website Control >>> My Pages
![]()
Click on the Edit Icon ![]() beside the content page you would like to add an image to.
beside the content page you would like to add an image to.

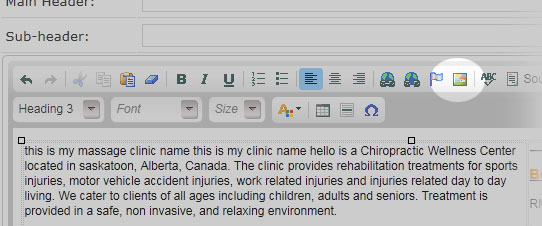
Place your cursor in the editor and click in the position where you want your image to go.

This will open the editor.
Click on the Insert/Edit Image icon ![]() .
.
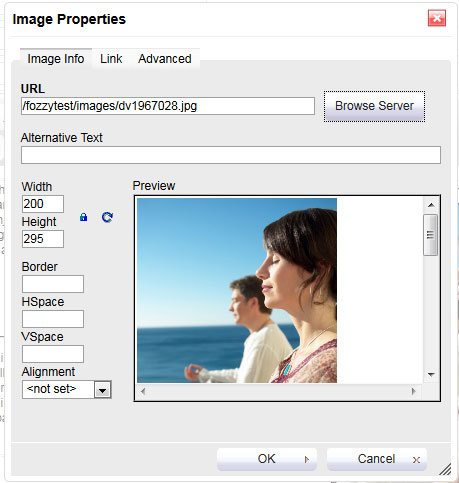
This will open the link properties window.
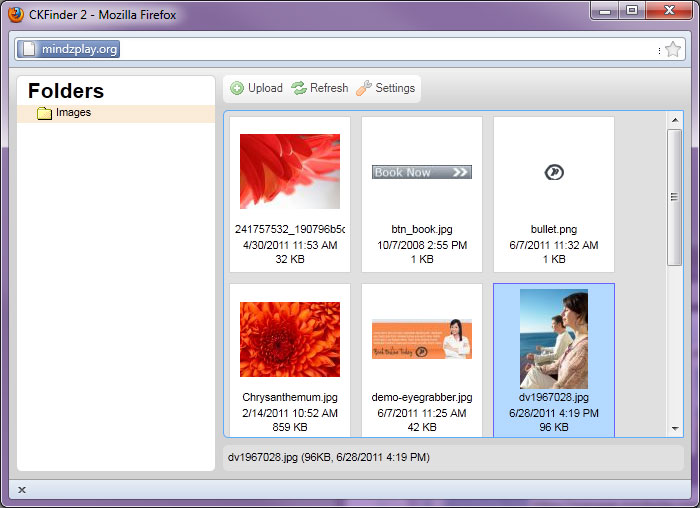
Next, choose browse server ![]() . If you previously uploaded images to your server, you will see them displayed as thumbnails. (If you would prefer a list view, click on the (image) settings button to change this.)
. If you previously uploaded images to your server, you will see them displayed as thumbnails. (If you would prefer a list view, click on the (image) settings button to change this.)
To upload a new image, click on the Upload button and click browse.
Locate and slect the JPEG, PNG or GIF image you would like to upload and click open
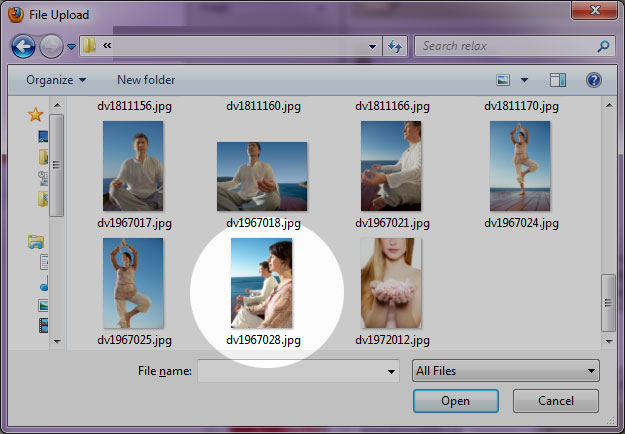
.Once your file has been uploaded, simply double click on the desired file to select it.
This will return you to the Image Properties Box. Simply click OK button ![]() and you will be returned to the editor.
and you will be returned to the editor.
When finished, simply click the Save button ![]() , to save the changes to your website.
, to save the changes to your website.