This tutorial will cover the process of setting up your clinic's appointment book for the first time.
Navigate to Website Control >>> Clinic Settings.
![]()
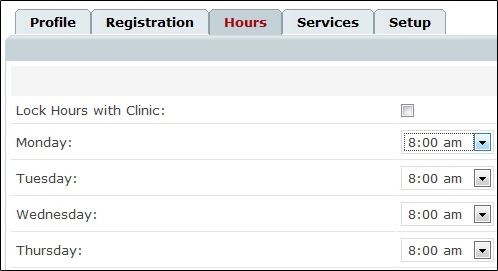
Click on the Hours tab ![]() .
.
Use the Drop-Down menus ![]() on this page to set the regular hours of operation for your clinic.
on this page to set the regular hours of operation for your clinic.
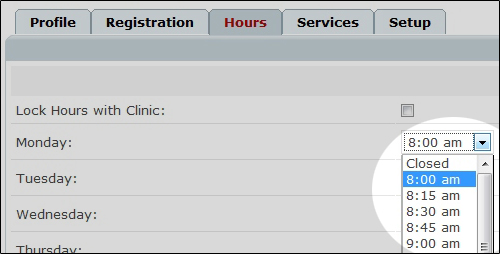
Note: You can set aside time for things like breaks, personal appointments or vacation time from other areas of the website, which will be covered later in this tutorial.
Note: If you are using our clinic edition and have therapists with shorter hours of different days off, do not worry. In this area you are just setting up the hours of operation for the clinic itself. Individual schedules will also be covered later in the tutorial.
While on the Hours tab ![]() , you will also want to check your public slot length. By default, your public slot length is set to five minutes.
, you will also want to check your public slot length. By default, your public slot length is set to five minutes.
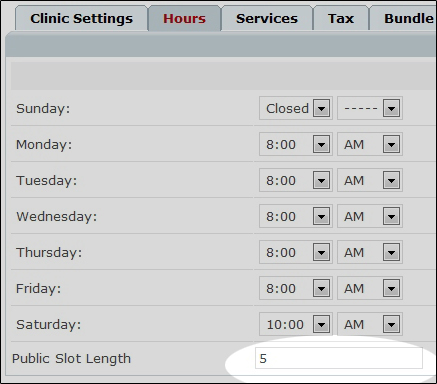
Changing this setting will change the time increments available in your public appointment book's time drop down menu. Make any necessary changes, and click save ![]() when finished.
when finished.
Next, we will want to click on the Services tab ![]() .
.
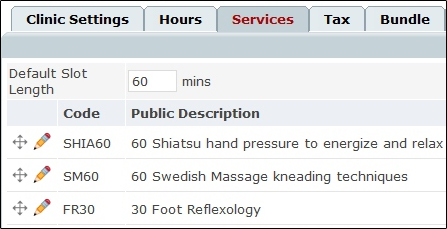
Before you can begin to accept appointments, you must determine your service offerings. For a full tutorial on how to create services, click here.
Once you have created your services, you will need to specify the default slot length. By default, this setting is set to 60 minutes.
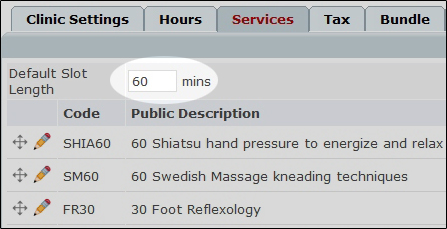
Changing this setting will change the time increments available to clients from the public appointment book when choosing a start time. Make any necessary changes, and click Save button ![]() when finished.
when finished.
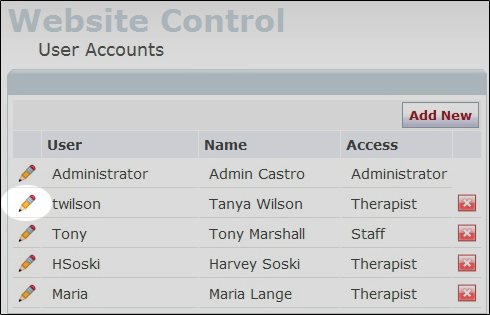
Now, go to Website Control >>> User Accounts
Click the Edit icon ![]() beside your user account.
beside your user account.
Note: If you are using our CLINIC EDITION, please click here for more information on Configuring User Accounts.
Click on the Hours Tab. ![]()
To give yourself time at the end of each appointment to prepare for the next, you can set a buffer time to be added automatically to all your appointments at the time of booking. Simply choose an interval from the drop down menu ![]() , and your calendar will automatically add that time to future appointments.
, and your calendar will automatically add that time to future appointments.
To close your clinic for extended periods of time (such as when you are on vacation) click here to read our tutorial on Close Exceptions before continuing on.
Note: You can also open your clinic on days it is normally closed. To learn more about Open Exceptions, please click here.
The final step in setting up your appointment calendar is to setup any small breaks or personal appointments you may need in your schedule. You can click here for a tutorial on how to use the Block Time function.
This completes our tutorial on how to configure your Appointment Calendar. You should now be completely ready to begin using your public and private calendars.